I kept seeing these beautiful shabby-chic and "vintageous" furniture on my "liked" Facebook pages and Pinterest and I wanted so many of them so my surroundings can look like that. Short of spending my life-savings (which is almost non-existent), that would be impossible. After all, I can barely justify buying one piece! I had resigned myself to saying: "one day".
Well, one day I saw a posting from
Deuxième Début on Facebook for a painting furniture workshop to learn how to distress them (among other things). It was at 9 a.m. on a Saturday morning (are you kidding?) and the cost of the half-day class was $199. Usually, I wouldn't have even thought about it because of the time and money but I just couldn't stop thinking about this.
I am SO GLAD now that I signed up, went and followed-through. The class was a great introduction to using Annie Sloan chalk paint (
http://www.anniesloan.com/) and techniques to upcycle furniture. The best part about this paint for me is the hassle-free factors of no priming, no pre-sanding and that it is fast-drying (I'm also big on instant gratification!). Annie Sloan also has an accompanying soft clear and dark wax that seems to make this easy and complete.
After getting some practical experience and great advice, I felt encouraged and inspired to practice what I had learnt. Yes, I was going to upcycle my own furniture!! At the end of the post, I'll summarize for you what it cost me to get started; I know it's something I would want to know if I was reading this.
I would like to share my first project experience with you here. I don't have detailed professional instructions but I will briefly describe what I did. If anyone wants to know more, I would be more than happy to tell and to share my sources of information!
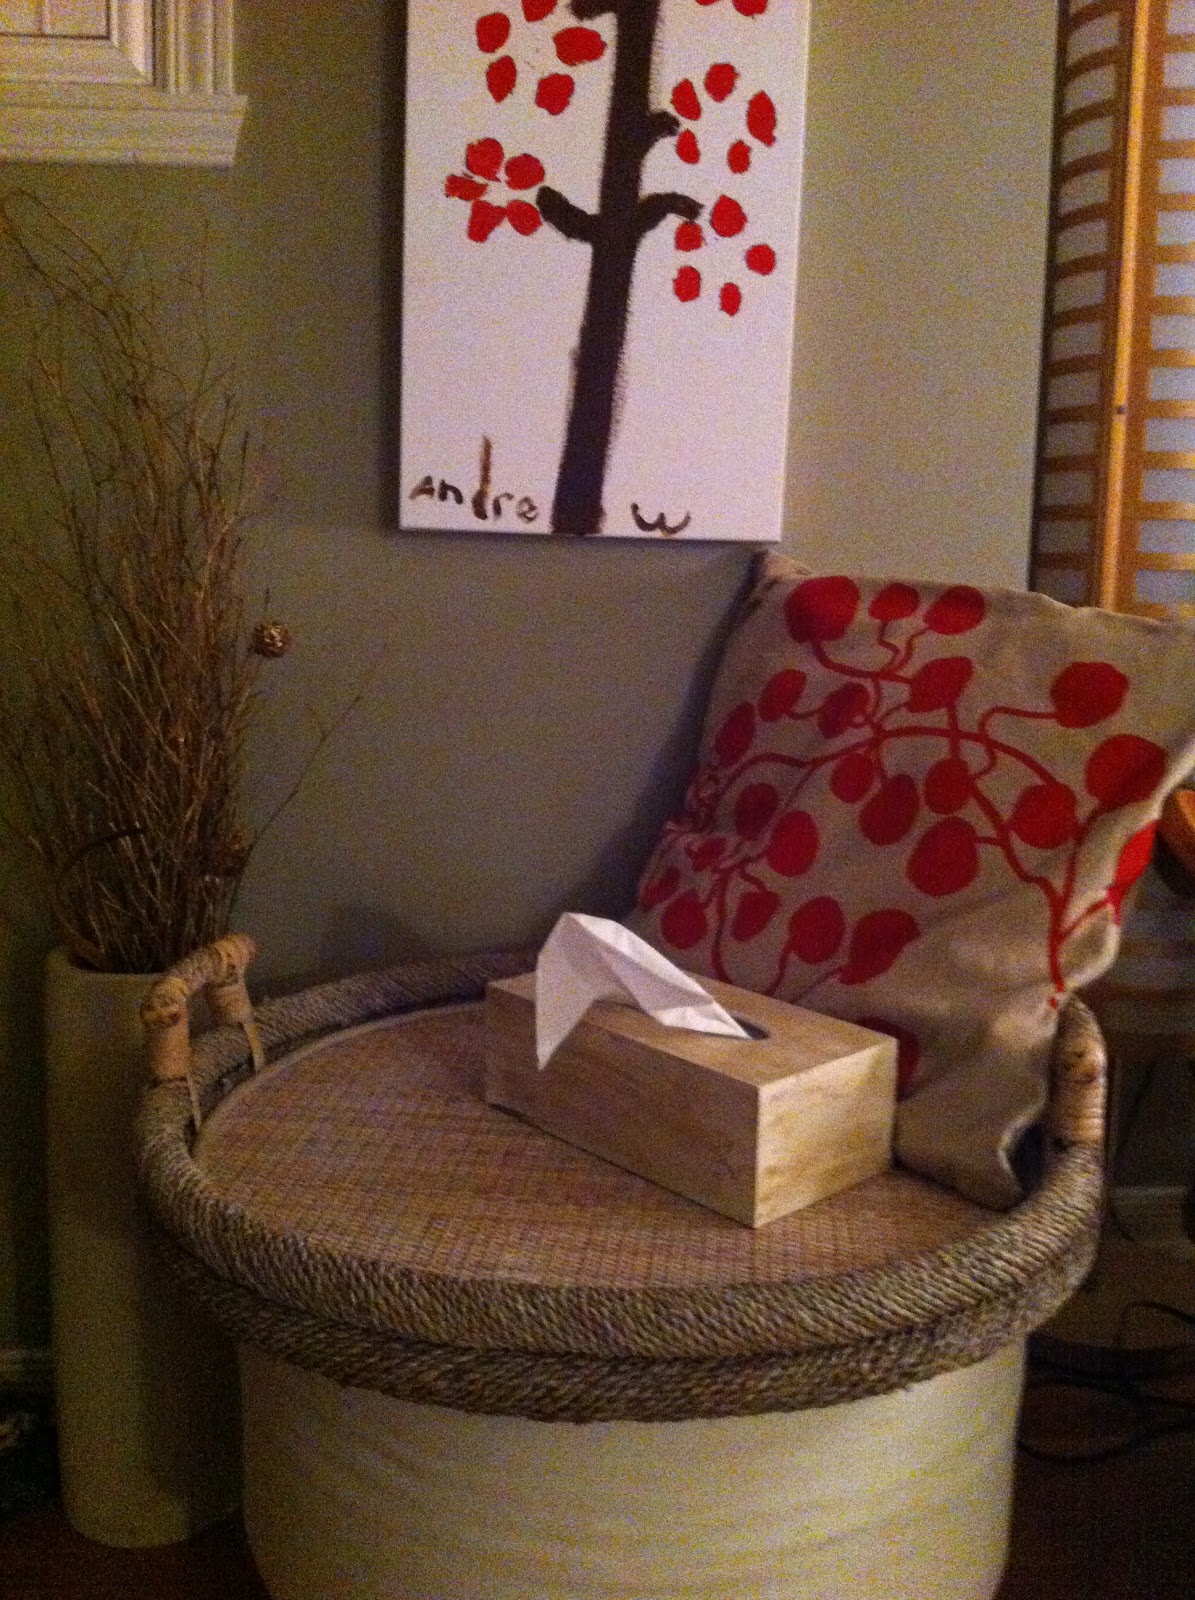
Here's my first project - the little round table:
I found this little round table on a local garage sale site for $15 (great deal, right?). I thought that it was just small enough for my first go at this.

I decided to use Annie Sloan's Chalk Paint (here on end to be referenced as ASCP as it is commonly done so) in
Old White. I wanted to use just one colour to keep it simple. I also thought that since it's originally dark, I will surely be able to get some of that colour through by slightly sanding after applying some clear wax to get that aged look.
I know I didn't have to sand first but the surface was slightly scratched in some places so I sanded the top a little bit with a 320 grade sandpaper on the more obvious spots hoping that it wouldn't affect the smoothness after painting. I don't know why but I had so much confidence in the paint that I was willing to risk not putting much effort into sanding.
I painted the whole table (even the bottom of the top).
This is what it looked like after the first coat. I was so excited as it already started to look like what I had envisioned! It may look from the picture that it was good enough as it had some dark paint showing and it looked as though the effect is there but I didn't think it covered evenly (and I was really curious to see what a second coat would do!) so I decided to let it dry to put on a second coat.
After the 1st coat:
After the 2nd coat:
It had a much better finish. It was already beautiful in my eyes! I think I was just happy to have transformed something on my own. I know it was just paint but I painted it!
I guess I could have left it like that but I did learn some distressing techniques so I couldn't NOT try them. I was literally DYING to try but I had to let the paint dry really well first.
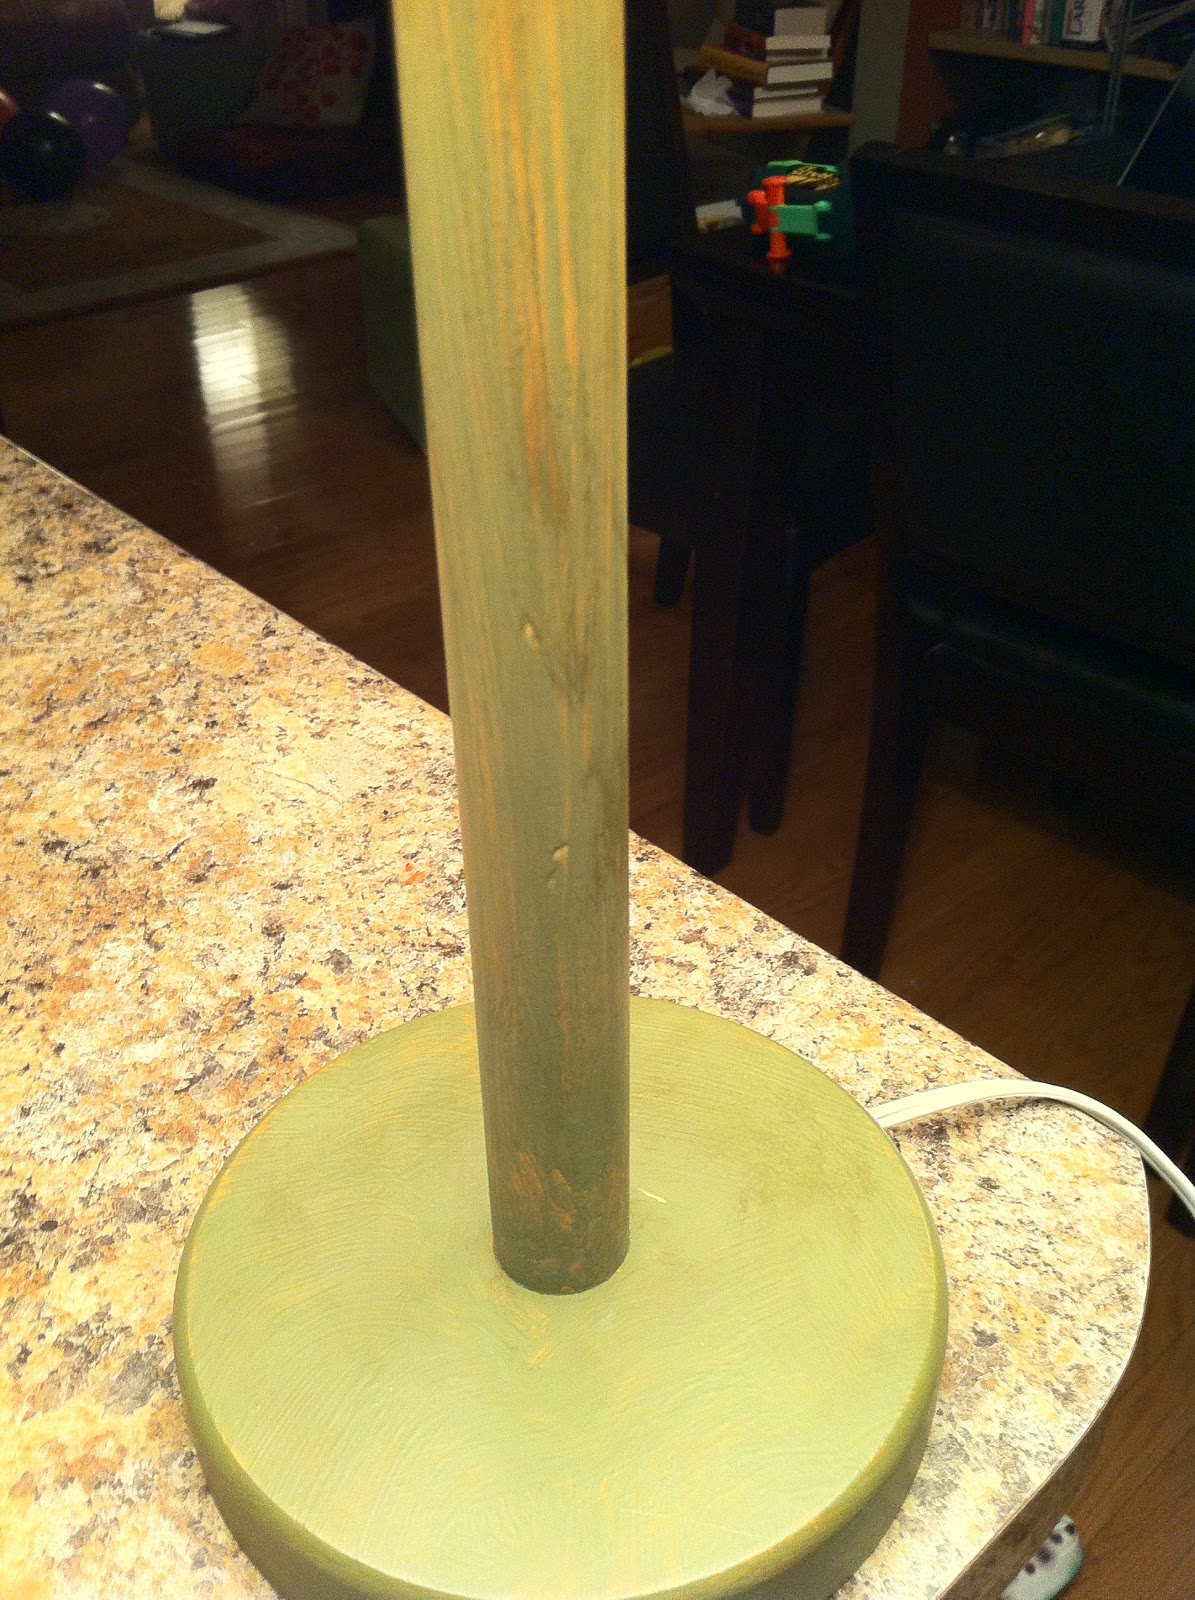
(While I waited, I started painting a lamp base - I will post some pictures of that in the future! Also, I was helping my 9 year-old son with his own painting project, which I have to show you next time as well!)
The next step was to apply clear wax to the whole piece to protect it. I waxed first before sanding to minimize the dust (BTW, don't worry about all the different materials I'm mentioning. I made a one-stop shop to get all these things which I'll list below along with the cost for you!). Then I used a 320 grade sandpaper to distress some arbitrary spots. I wasn't sure I wanted to sand the top. I didn't want to leave it all white so it stood out from the legs which had some distressing so I brushed on some dark wax and rub it in with clear wax to lessen the brightness of it.
Here are the finished shots:
I was so proud!! It was fun and really easy to do in one afternoon! I loved that I got to be creative on it like art. Best of all, I was just happy I got up to do this for ME. If I can do this, ANYONE can do this to change up their tired furniture.
I want to thank Dorothy from
Deuxième Début. It was watching her beautiful work on Facebook that kindled my desire and her workshop that got me the courage do do this now. Please visit her website and her Facebook page to see what I mean!
Here is the list of materials that I used - all of which I got at
Piorra Maison. They carry ASCP and it is the closest location to me. (I love their store - I want to have a store just like that!) You can check out the retailers near you on
Annie Sloan's website. I will give you an approximate cost (in Canadian dollars) based on memory of the materials just to give you an idea:
1 can of Annie Sloan chalk paint in Old White (646 ml) - $50
1 can of Annie Sloan soft clear wax (500 ml)- $40
1 can of Annie Sloan soft dark wax (500 ml)- $40
1 2" (50mm) Nylon brush (for the paint) - $6
1 natural bristle brush (for the clear wax) - $20 though you can go for cheaper alternative but these don't shed as much as I was told
1 natural bristle brush (for the dark wax) - $20
1 sheet of 320 grade sand paper (less than a $1)
1 rag (less than a $1) - or use an old cotton t-shirt
So $150 sounds like a lot but aside from the sandpaper and rag, everything else will last me for a LONG time, even the paint. It really doesn't take much paint; I hardly put a dent in the can for this project. I just figured it was worth the investment now that I can really redo my own furniture!
I haven't had a chance to paint again as it has been pretty busy lately but I am itching to do paint again. I'll probably do more in the same colour...but I haven't decided yet. Come back and find out! Hope you got something out of this post. Cheers!!